Indoor plants bring life, color, and fresh air to our living spaces, acting as natural air purifiers while adding a touch of nature to our homes. However, to keep them thriving, periodic repotting is essential. This comprehensive guide will walk you through why, when, and how to repot your indoor plants, ensuring they continue to grow and flourish.
Understanding the Importance of Repotting
Repotting doesn’t just mean changing a plant’s pot. It’s about giving your plant a new lease on life, providing fresh soil, more room to grow, and a chance to refresh its root environment. Over time, soil depletes of nutrients, and roots may become pot-bound, restricting growth and affecting the plant’s health. Repotting helps in:
- Encouraging growth: New soil offers fresh nutrients and more space for roots to expand.
- Improving drainage: Over time, soil can become compacted, leading to poor drainage. Fresh soil improves water retention and drainage, preventing root rot.
- Monitoring root health: Repotting gives you a chance to check for and remove any dead or rotting roots, which are essential for a plant’s health.
Potting Mat
When to Repot
The best time to repot most indoor plants is during their active growth period, usually in spring or early summer. However, some signs indicate it’s time to repot:
- Roots are growing through the drainage holes.
- The plant is drying out faster than usual, requiring more frequent watering.
- Visible salt and mineral build-up on the pot or soil surface.
- Stunted growth, even during the growing season.
Certain species, especially fast-growing ones, may need to be repotted annually, while others can wait 2-3 years. Always consider the specific needs of your plant.
When is it time to repot?
We’re asked all the time: “How will I know when it’s time to repot my plant?” Of course, you want the best for your new plant. Here are some easy tips to help it grow and flourish.
Tip #1: We always recommend waiting at least 1-2 weeks after you receive your new PlantVine plant before replanting or repotting. Why? You want to make sure your new addition has had time to recover from shipping, and to acclimate to its new environment.
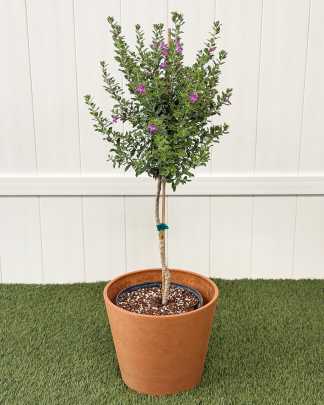
Tip #2: As soon as you notice your plant’s roots coming out of the pot, it’s time to repot! You may see either roots protruding over the top; or roots pushing out of the draining holes at the bottom. Your plant has become root bound. To avoid this, keep an eye on the plant’s growth, paying special attention to the plant’s roots. Should your plant become extremely root bound, transplanting may be quite difficult, but extremely necessary. So, get to it! Plants may experience stunted growth if their container is not the correct size. Though all plants have different growth speed, a good rule of thumb is repotting each of your indoor plants once a year.
Tip #3: Okay, you’ve noticed it’s time to repot your plant. How much larger should the next pot be? Professional gardeners suggest to go up 2-4” larger in diameter (though every plant is different.) A slow growing plant works well in a 2” upgrade. For a fast grower, you may want to go slightly larger. FYI: standard pot sizes are: Medium 6”, Large 8-10”, Extra Large 12-14.”
Please note: plants tended to by even the most careful and seasoned gardeners may experience a bit of shock after being transplanted. Rest assured: this is normal. Your plant needs some time to adjust and acclimate to its new environment. Those plant parents who panic may shower too much care on their plant…which leads to added stress on the plant. Our Natural Root Stimulant can help this problem! Not only will it help reduce shock caused by transplanting, it also promotes healthy root growth. Give it a try. Your plants will thank you.
Choosing the Right Pot
Selecting a new pot is crucial in the repotting process. Here are some tips:
- Size: Choose a pot that is 1-2 inches larger in diameter than the current one for smaller plants and 2-4 inches for larger ones. Avoid going too large, as excess soil can hold too much moisture, leading to root rot.
- Material: Pots can be plastic, ceramic, terracotta, etc. Terracotta allows soil to dry more evenly but is heavier. Plastic is lighter and retains moisture longer. Consider your plant’s moisture needs and your aesthetic preferences.
- Drainage: Ensure the pot has adequate drainage holes to prevent water from pooling at the bottom.
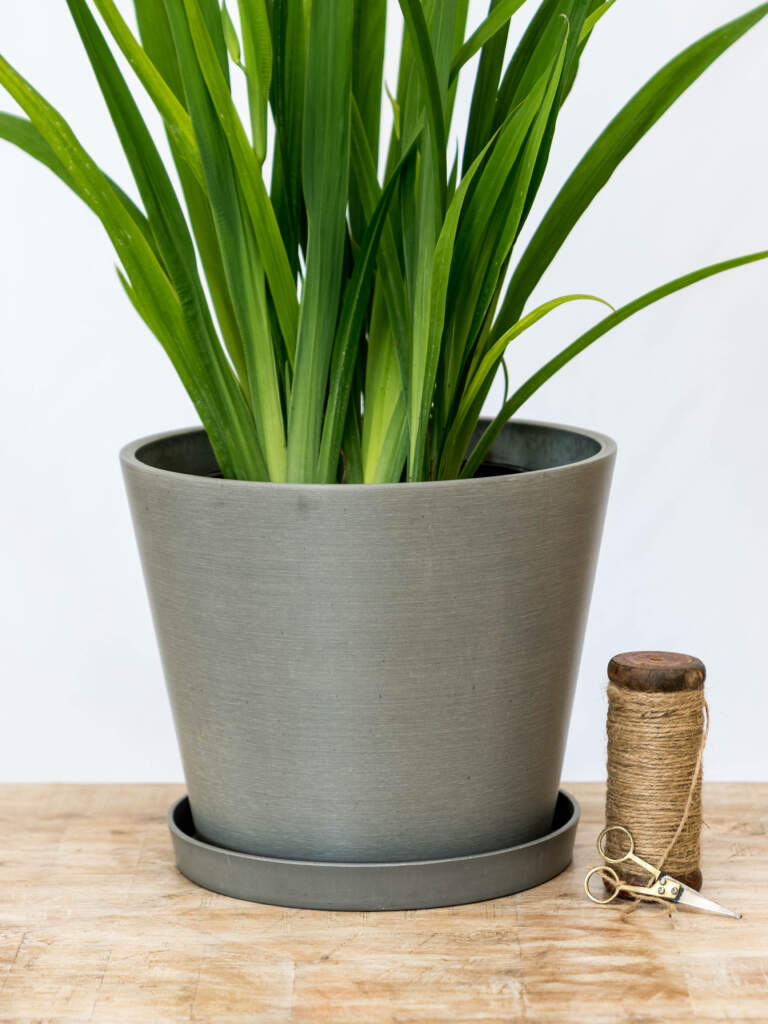
Selva Planter 12-inch
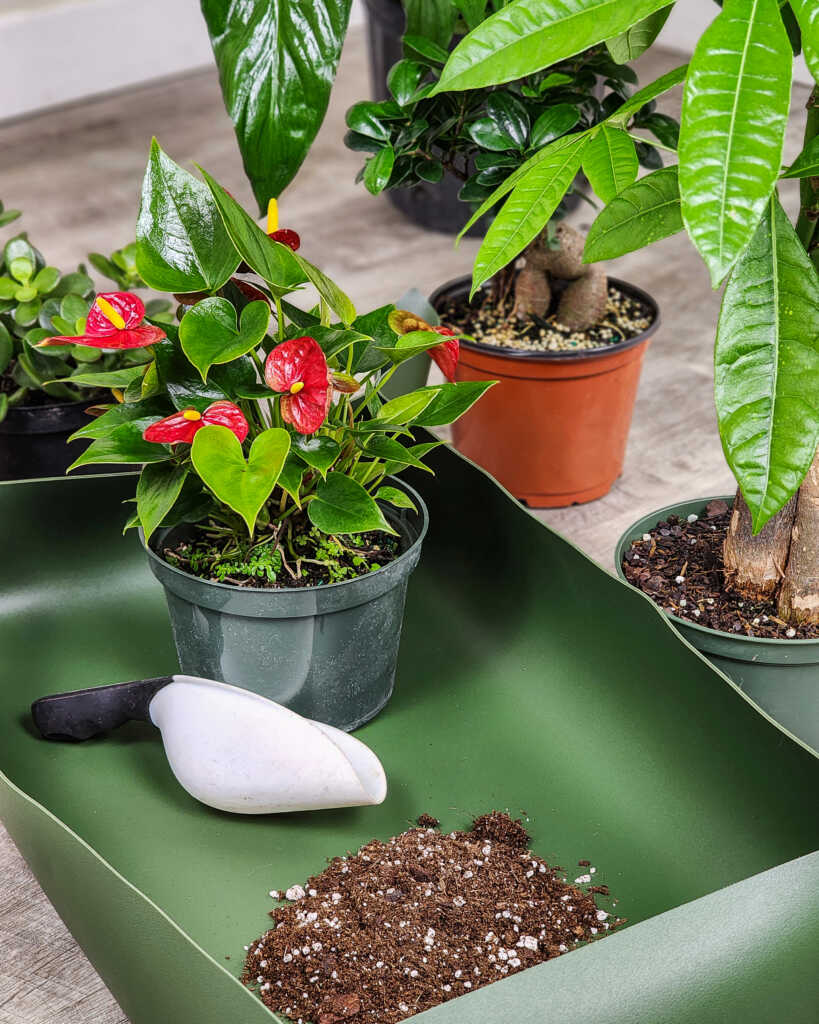
Step-by-Step Guide to Repotting
1. Preparation: Water your plant a day before repotting to make the process less stressful for the roots. Gather your materials: the new pot, fresh potting soil, scissors or pruning shears, and gloves.
2. Removing the Plant: Gently hold the base of the plant and tilt the pot, tapping or squeezing its sides to loosen the soil. Carefully pull the plant out, supporting its base and stem.
3. Root Inspection and Pruning: Inspect the root ball. If the roots are densely packed or circling the bottom, gently tease them apart with your fingers. Trim away any dead or rotting roots with clean scissors or shears.
4. Adding New Soil: Place a layer of fresh potting soil at the bottom of the new pot. The amount depends on the size of the pot and the plant’s root ball, ensuring the plant will sit at the same level it was in the old pot.
5. Repotting: Center the plant in the new pot and fill around the sides with potting soil, gently tamping down to remove large air pockets. Leave about an inch of space from the top to allow for watering.
6. Watering: Water the plant thoroughly after repotting to help settle the soil and eliminate air pockets. Allow the water to drain completely.
7. Aftercare: Keep the plant in a shaded area for a few days to recover and avoid direct sunlight, which can stress the plant further. Resume your regular care routine once the plant shows signs of new growth.
Choosing the Right Soil
A critical aspect of repotting is selecting the right potting mix. Most indoor plants thrive in a well-draining, peat-based potting mix. However, some plants, like succulents and cacti, require a more porous mix to prevent root rot. Orchids and bromeliads prefer even more specialized mixes. Always choose a soil that suits the specific needs of your plant.
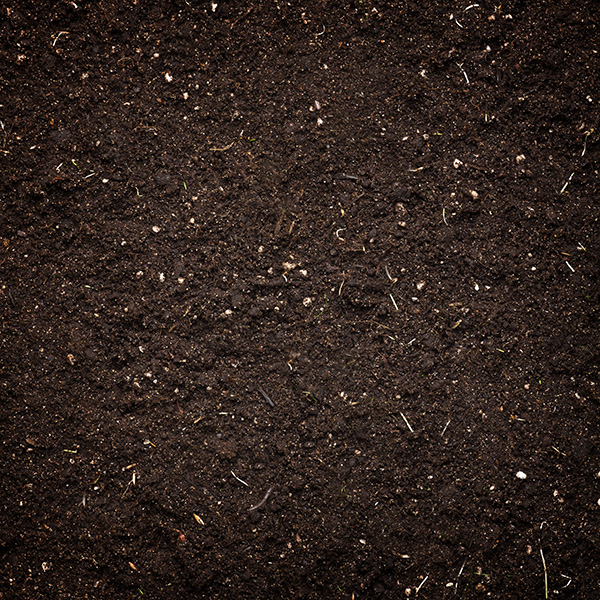
Organic Indoor Soil Mix
Common Mistakes to Avoid
- Overpotting: Using a pot that’s too large can lead to waterlogging.
- Poor Drainage: Not ensuring adequate drainage can cause root rot.
- Ignoring the Plant’s Specific Needs: Different plants have unique soil, light, and water requirements.
- Neglecting Aftercare: The weeks following repotting are crucial. Avoid stressing the plant with too much direct sunlight or fertilizer.
Conclusion
Repotting is a vital aspect of indoor plant care that can significantly impact their health and growth. By understanding when and how to repot your plants, you can ensure they remain vibrant, healthy, and an integral part of your indoor garden for years to come. Remember, each plant has its personality and needs, so while this guide provides a general framework, always tailor your approach to each plant’s specific requirements. Happy gardening!